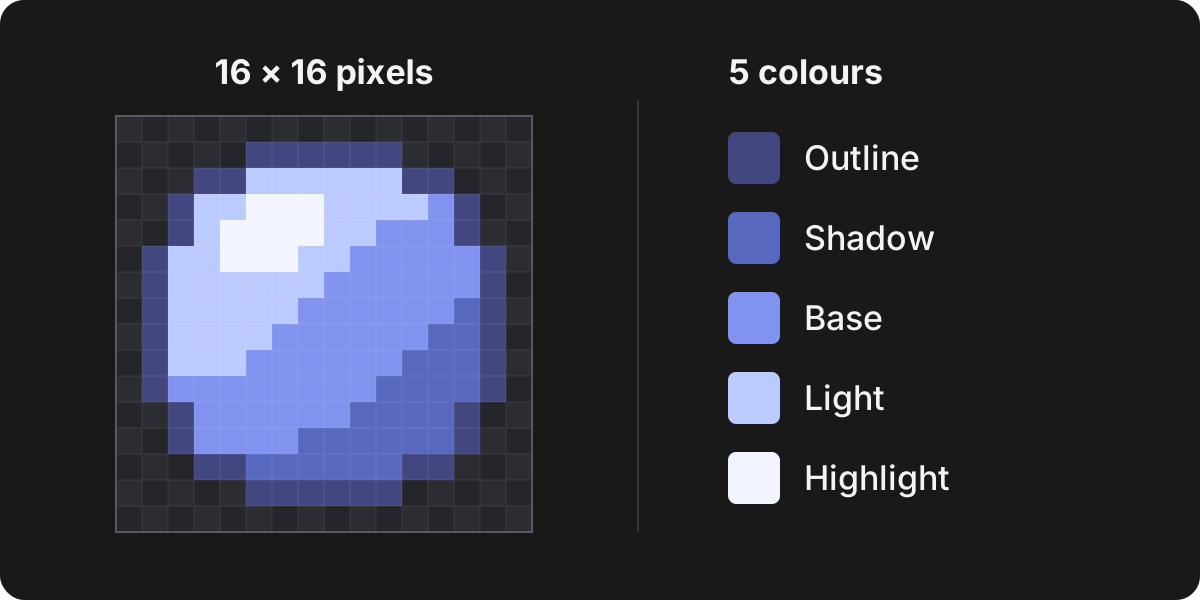
1. Make a small canvas
Open Tiny Pixel Editor, then choose File → New…. Set Width and Height to 16 and choose Create. The new document opens in its own editor tab.
A 16 × 16 image contains just 256 pixels. That small size helps you concentrate on the outline instead of adding details too early. Use View → Zoom in to see the individual squares clearly. Zoom changes your view, not the number of pixels in the artwork.
2. Choose a small palette
Start with a medium blue for the main shape, a darker blue for its shadow and a pale blue for its highlight. An optional fourth colour can make the darkest edge easier to see. Choose colours from the Colour panel or enter a colour in its hex field.
Try #8293EF for the base, #5868BF for the shadow and #F2F5FF for the highlight. The illustration also uses #42477F for the outline and #BCCBFF for a lighter blue, but three colours are enough to begin. Select Pencil and set Brush size to 1 for individual pixels.
3. Build the outline and shading
- With your base colour, draw a small rounded shape near the centre. Leave empty space around it. Short horizontal and vertical steps make a readable curve on a pixel grid.
- Close the outline, then choose Fill and click inside it. If the colour escapes into the background, use Edit → Undo, close the gap with Pencil and try again.
- Return to Pencil. Add the darker colour along the lower right edge, leaving most of the centre blue.
- Add a small patch of pale pixels near the upper left. Keeping the highlight on the opposite side from the shadow gives the orb a rounded appearance.
Use Eraser to remove stray pixels. The chequered area represents transparency, so it does not become a patterned background in a PNG export.
4. Check it at a smaller view
Use View → Zoom out to judge the whole sprite. Does the outline still look round? Can you see the highlight without zooming in? Remove isolated pixels that distract from the main shape. A simple readable sprite is a good result for this exercise.
If drawing appears to do nothing, check that you have Pencil selected and an unlocked, visible layer. An active selection can also restrict where you draw. Choose Select → Deselect if you no longer need it.
5. Save the project and a PNG
Choose File → Save project to keep an editable .pxl file. Then choose File → Export…, select PNG and choose a scale. 1x keeps the original 16 × 16 dimensions; 8x makes a 128 × 128 image for sharing.
Keep the project file as well as the image. When you are ready, use this orb for the two-frame animation exercise.