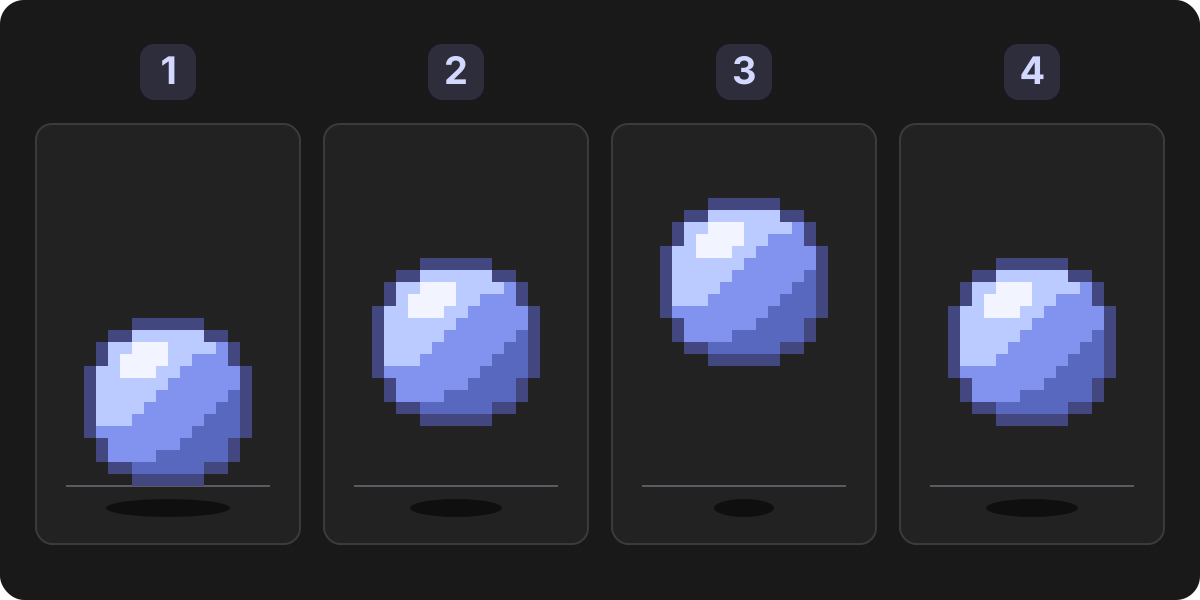
1. Start with one finished frame
Use the orb from the first pixel art guide, or draw a small shape on a new 16 × 16 canvas. Leave a few empty rows above and below it so it has room to move. Save a .pxl project before experimenting.
Think of a frame as one moment in the animation. For this exercise, the first frame holds the orb slightly lower and the second holds it slightly higher. Keeping the colour palette and shape consistent makes the change easier to follow.
2. Duplicate an independent frame
Choose Frame → Duplicate frame. The copy becomes the active frame, and the timeline lets you move between the two frames. On a narrow layout, the timeline is available in the Frames panel.
For this exercise, use the ordinary Duplicate frame command. Duplicate frame with linked pixel cels shares pixel data between frames: changing those pixels can also change the other linked frames. That is useful for artwork meant to stay identical, but this bounce needs independent images.
If you already made a linked copy, select the cel you want to edit and choose Frame → Unlink active cel first. A cel is the image belonging to one layer in one frame.
3. Draw the second pose
Set the timeline's Onion control to ±1. This shows the previous and next frame faintly when they are available. Use the previous image as a position guide. In the second frame, erase and redraw the orb one pixel higher, retaining its outline, shadow and highlight. With a small sprite, redrawing is a useful way to practise consistent shapes.
Switch between frames to check that the first image remains unchanged. Keep the background transparent. Onion skin is a drawing aid and does not appear in the exported animation.
4. Set the timing and play
Choose Frame → Frame duration…. Enter 200 in Milliseconds, enable Apply to every frame and choose Apply. Each image will stay visible for one fifth of a second.
Set the timeline's Playback repeat control to Loop. Choose Frame → Play / pause to preview the bounce, then use the same command to stop it. Try a longer duration for a slower bounce or a shorter duration for a faster one. The two poses will alternate; adding intermediate poses later can make a larger movement feel smoother.
5. Export and check the result
Open File → Export…. Choose Animated GIF or Animated PNG (APNG), set Frames to Whole animation and Repeat to Loop forever. Choose a scale and export. Open the downloaded file in an application that supports its animation format.
GIF is useful for simple opaque pixel art, but has colour and transparency limits. APNG keeps full transparency. If the animation options are unavailable, check that the document has at least two frames. Ordinary PNG exports only the current frame.
Save the updated .pxl project too. For game development, the next step is exporting these frames as a sprite sheet.